We left Forks to visit First Beach and La Push on the Quileute Reservation because now we were actively chasing “Twilight” for my blog post. First Beach, the real place, was very cool with sea stacks wreathed in mist and low clouds, driftwood and colored stones on the beach, and cold mist falling on us. It’s right in La Push and quite scenic, very upper coastal and fun to wander. [Read more…] about Olympic National Park-forest and coast
Anacortes and Whale Watching
 Tuesday morning we left Seattle early and headed north to Anacortes for our whale watching tour. Although yesterday had been a beautiful, sunny day in Seattle, it had rained overnight and was overcast. It looked exactly as you might imagine a Washington day.
We had booked a cruise with Island Adventures based in Anacortes on Fidalgo Island and that turned out to be a great choice. Scott had investigated several companies and we had originally planned to use a company much farther south but turned out they didn’t sail that day so we changed plans, got up early and drove north instead. Good for us because this cruise was freakin’ awesome. They have a naturalist on board that was not the captain so instead of trying to explain wildlife while piloting the boat, he was free to mingle with passengers, answer questions, and talk about animals. There were also complimentary wildlife viewing guides for each passenger that explained information about the animals and area plus maps of the islands. Since we sailed out of Anacortes, we headed directly into the San Juan Islands instead of sailing north for a long time, so there was more time for wildlife viewing. Judging from the crew’s excitement, apparently we happened on an extraordinary animal day. Boo-yah! We saw many more types of animals than normal and a larger quantity of orcas than usual. Wicked! [Read more…] about Anacortes and Whale Watching
Seattle
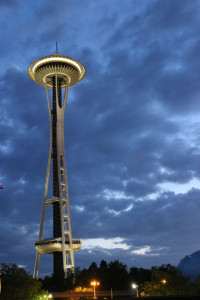
 We spent a day in Seattle and got the flavor of the city. We began by trying to figure out where to park without paying an arm and leg to visit Pike Place Market. This place is pretty cool. It’s one of the oldest continuously operating farmers markets. There are lots of people selling their wares, everything from honey to fish to fruit to magnets to handmade arts and crafts. Basically everything and anything. There are lots of samples to be had, and lots of things to see. The main part seems to be the street level, but there are lower levels as well. The lower levels seemed quite a bit more tame and subdued, but the top level was where the action was. We never saw any of the fishmongers throwing fish, which is too bad, because I hear that is quite a sight. Sue bought a peach and some Rainier cherries for a snack later, and a couple of other souvenirs. We also saw plenty of street performers playing guitar, viola, and saxophone. [Read more…] about Seattle
North Cascades
 After spending a couple days visiting Scott’s grandfather and aunt & uncle, we took off for the Seattle area. We had several choices for routes, but decided to drive Highway 20 through North Cascades National Park. There are over 300 glaciers in this park. The roads were recently opened from the winter snows and the scenery was beautiful, with the cool air, pine forest smell, and beautiful views.
On the way up the mountains, we went through a nice town called Winthrop. It’s built like an old-time Western town, with boardwalks, period-style buildings, and lots of fun shops. It was a good place to get out for a few minutes, stretch our legs, and explore a bit. Plus I got some handcrafted earrings! [Read more…] about North Cascades
Pulaski Tunnel & the Big Burn of 1910
The first day of our trip was spent driving with small stops to stretch our legs. We spent the night in Missoula, Montana, then headed across the Idaho panhandle.
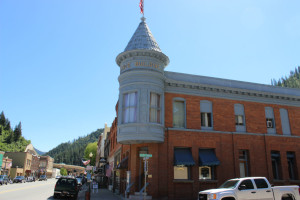
 Last year, I read a book called “The Big Burn” by Timothy Egan that had been recommended by my friend, Karen. Since I love to visit historic places that relate to books I’ve read, I had the area around Wallace, Idaho on my list. “The Big Burn” tells all about the huge wildfires of 1910 that popped up all around the west with the worst area centered in eastern Washington, the Idaho panhandle, and western Montana. Smoke from these fires was seen as far away as New York, and ships 500 miles out in the Pacific couldn’t navigate by the stars at night because they were blotted
out by the smoke. [Read more…] about Pulaski Tunnel & the Big Burn of 1910